How to Remove BitLocker: A Step-by-Step Guide to Disabling Encryption Safely
Updated on August 1, 2025, by Xcitium
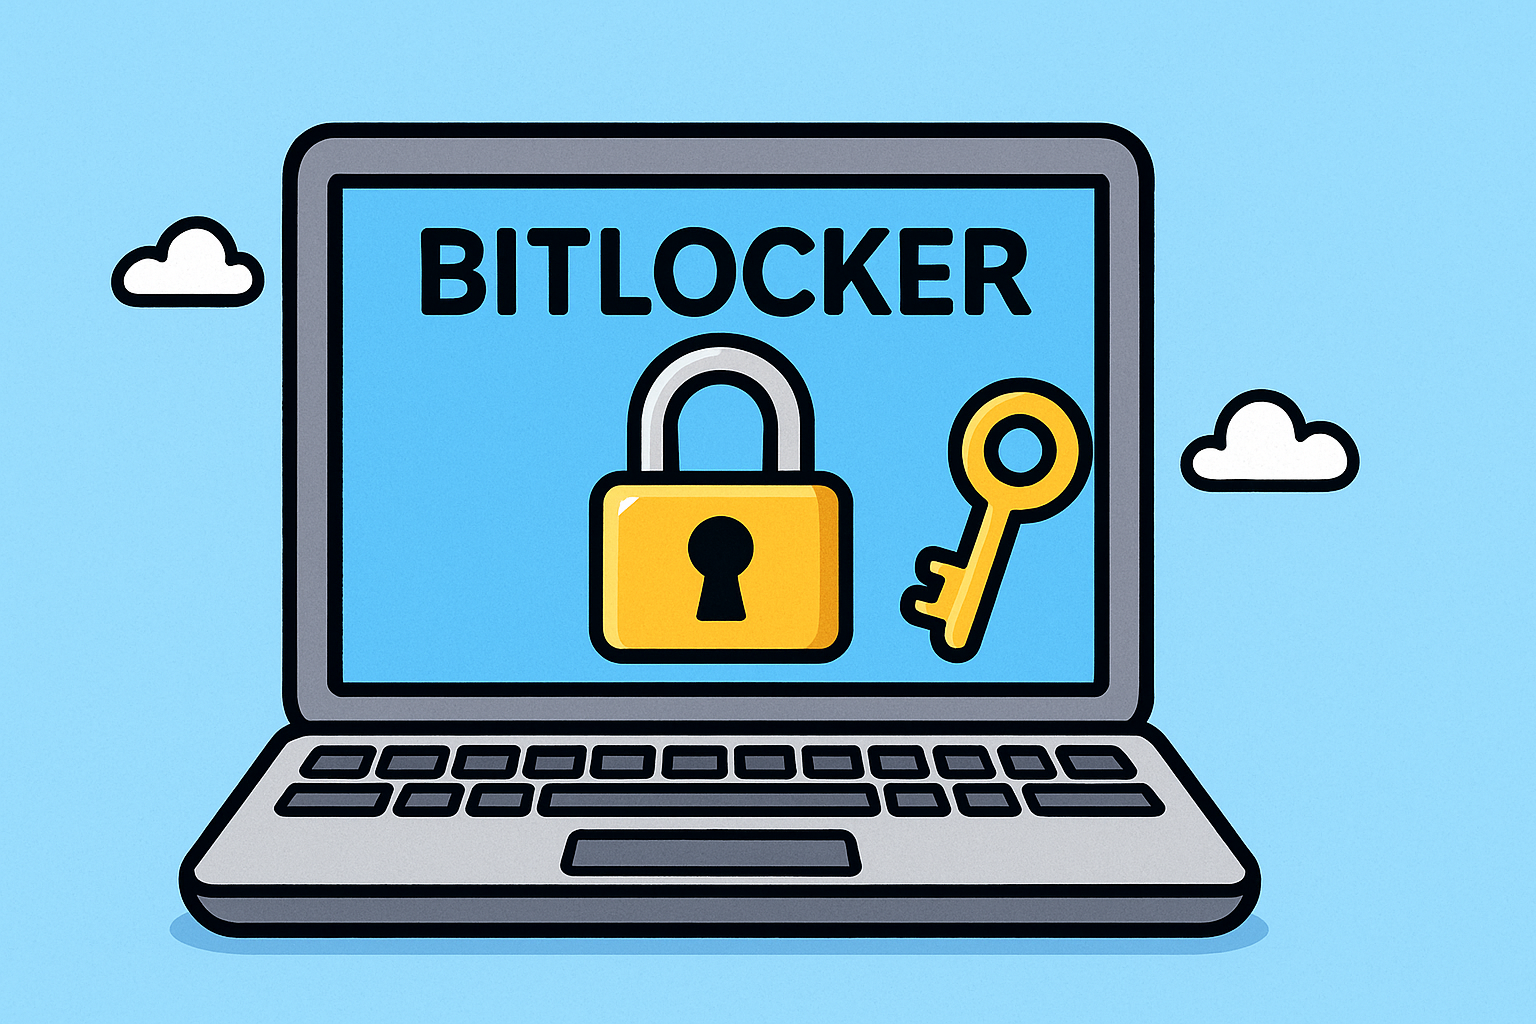
BitLocker is a built-in disk encryption feature in Windows that adds a layer of security to your data. However, there are times when users may need to remove BitLocker—perhaps you’re troubleshooting performance issues, preparing to sell a device, or simply no longer need encryption.
But before you jump in, it’s essential to understand the correct steps to disable BitLocker encryption without data loss or system conflicts. This guide explains how to remove BitLocker, including on Windows 11, and how to decrypt BitLocker-protected USB drives or hard drives—all in clear, actionable steps.
🛡️ What Is BitLocker and Why Do People Use It?
BitLocker encrypts the contents of your drives using Advanced Encryption Standard (AES). It protects your system against unauthorized access, especially in cases of theft or loss.
Key Benefits:
- Protects sensitive files
- Integrates with TPM (Trusted Platform Module)
- Enables secure boot and system integrity checks
Yet, in enterprise settings, IT managers often need to turn off BitLocker during system upgrades or to simplify endpoint management. If that’s your case, let’s move to the how-to.
🧩 How to Remove BitLocker: Step-by-Step Guide
✅ Step 1: Check BitLocker Status
Before disabling it, verify whether BitLocker is enabled on your system:
For Windows 10/11:
- Press Win + X and select Windows Terminal (Admin) or Command Prompt (Admin)
Enter:
manage-bde -status
- Look for “Conversion Status” and “Protection Status”
✅ Step 2: Turn Off BitLocker via Control Panel
This is the most user-friendly method:
- Go to Control Panel > System and Security > BitLocker Drive Encryption
- Find the drive you want to decrypt
- Click Turn Off BitLocker
- Confirm and allow the decryption process (this may take time depending on drive size)
✅ Step 3: Remove BitLocker via Command Line
For administrators or power users, use the following command:
manage-bde -off C:
Replace C: with the drive letter you wish to decrypt.
To monitor decryption progress:
manage-bde -status
✅ Step 4: Use PowerShell to Disable BitLocker
A scripting approach for automation:
Disable-BitLocker -MountPoint “C:”
This is handy for bulk operations in corporate environments.
💾 How to Decrypt a BitLocker-Protected USB or Hard Drive
Even portable drives can have BitLocker enabled:
- Insert the USB or external hard drive
- When prompted, enter the BitLocker recovery key or password
- Open File Explorer > Right-click the drive > Select Manage BitLocker
- Click Turn Off BitLocker and confirm
Decryption will begin, and you’ll be notified once it’s complete.
🔐 How to Remove BitLocker Recovery Key from System
The BitLocker recovery key is stored in multiple places (Microsoft account, Azure AD, USB, or printed). If you’ve removed encryption and no longer need it:
- Go to Start > Settings > Privacy & Security > Device Encryption
- Scroll to BitLocker settings
- Select Manage recovery keys
- Delete or rotate the recovery key based on your security policy
Note: Always back up keys before removing them permanently.
🧭 How to Turn Off BitLocker in Windows 11
While the interface is similar to Windows 10, Windows 11 places security options in newer UI:
- Open Settings > Privacy & Security > Device Encryption
- Click BitLocker settings
- Choose the appropriate drive and click Turn Off BitLocker
If device encryption is grayed out, it could be managed by Group Policy or a domain administrator.
📉 Downsides of Removing BitLocker
- Security Risk: Your files will no longer be encrypted at rest
- Regulatory Issues: May breach compliance (HIPAA, GDPR)
- Data Recovery: Easier for unauthorized access
Only disable BitLocker if you’ve fully evaluated the risks, or if encryption isn’t needed for your use case.
📈 Alternatives to BitLocker
If you’re looking for more control or need a third-party solution, consider:
- VeraCrypt: Open-source encryption tool
- Symantec Endpoint Encryption
- Xcitium Endpoint Security – Offers containerization, zero-trust protection, and real-time threat detection.
🧠 FAQ: Common Questions About Removing BitLocker
1. Will I lose data when I remove BitLocker?
No, decryption doesn’t delete data. However, always back up before making changes.
2. How long does BitLocker decryption take?
Depends on the drive size. A 500GB SSD may take 15–30 minutes, while larger HDDs can take hours.
3. Can I remove BitLocker from a locked drive?
You’ll need the recovery key or password. Without it, decryption is not possible.
4. Is it safe to disable BitLocker on a work computer?
Consult your IT department—BitLocker may be enforced for compliance or policy reasons.
5. Why can’t I see BitLocker in Control Panel?
Your version of Windows (like Home edition) may not support full BitLocker functionality. Look under “Device Encryption” instead.
✅ Final Thoughts: Securely Remove BitLocker With Confidence
Whether you’re troubleshooting a performance issue, preparing a device for resale, or updating your IT infrastructure, knowing how to remove BitLocker properly is crucial. Just make sure you’re taking the necessary precautions to safeguard your data before and after disabling encryption.
Want enterprise-grade endpoint protection that doesn’t rely solely on disk encryption?
👉 Request a Free Demo from Xcitium and experience real-time, zero-trust threat defense for your organization.