How to Snipp: The Complete Guide to Taking and Managing Screenshots
Updated on October 16, 2025, by Xcitium
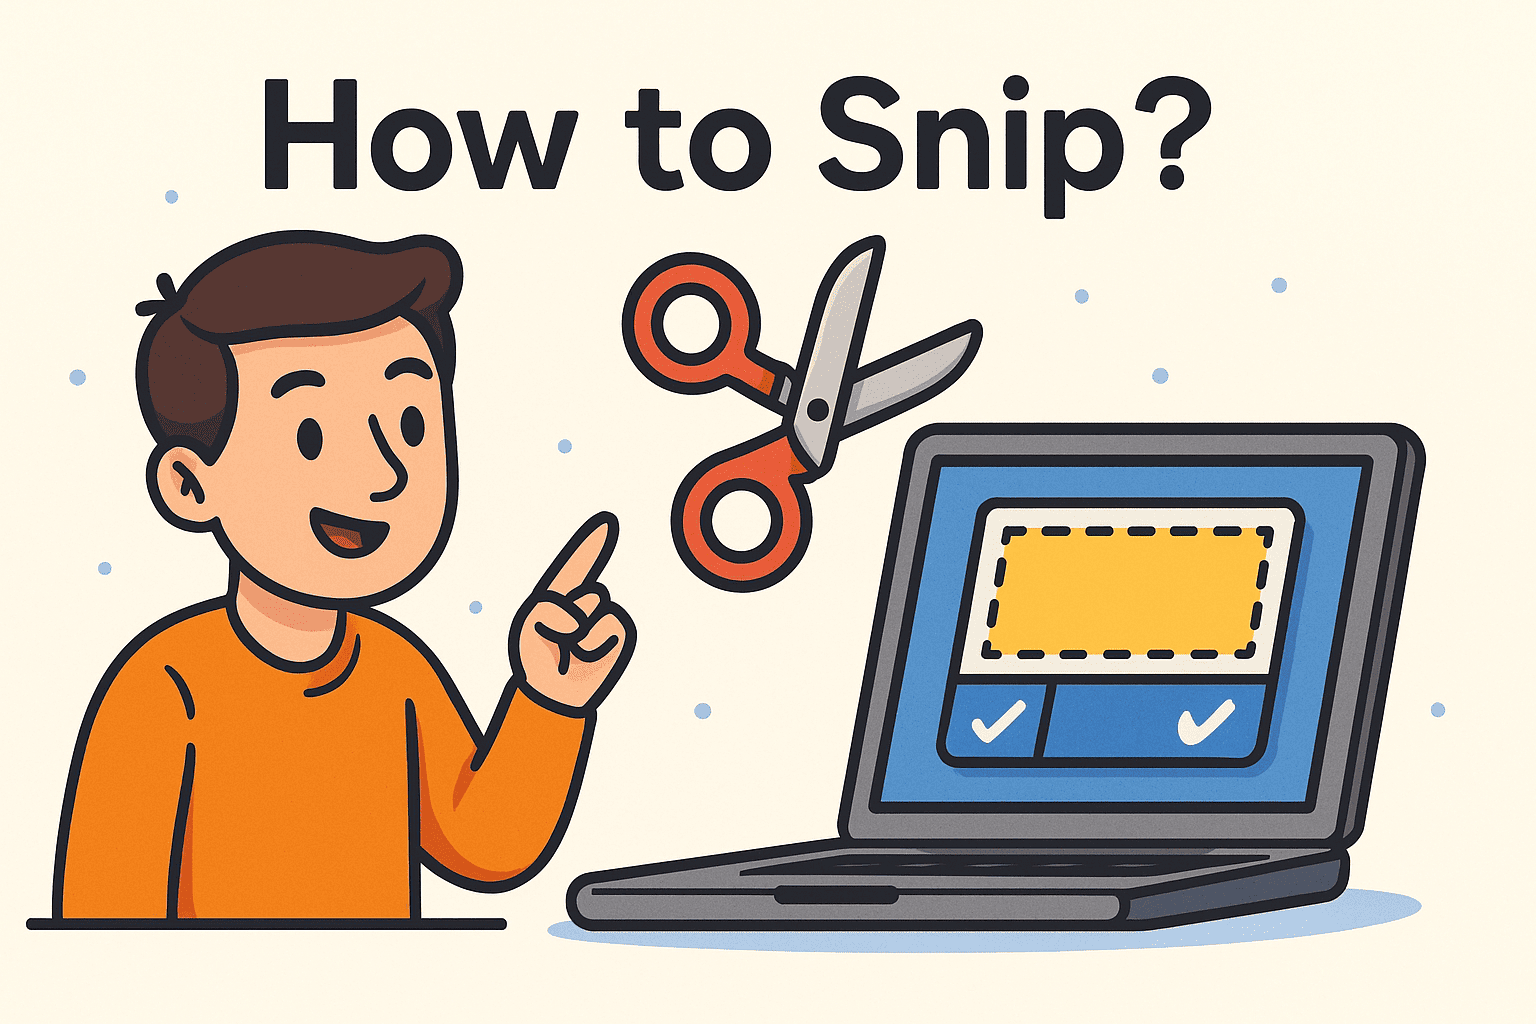
Have you ever needed to quickly capture part of your screen to share an error message, create documentation, or highlight important information? If yes, then you’ve already realized the value of knowing how to snipp. Screenshots are more than just quick grabs of your screen — they’re powerful tools for communication, troubleshooting, and training.
Introduction: Why Knowing How to Snipp Matters
For IT managers, cybersecurity teams, and business leaders, the ability to snip and share accurately is crucial. Whether it’s documenting incidents, reporting security breaches, or training employees, mastering the snipping process saves time and ensures clarity.
What Does “Snipp” Mean?
When people ask how to snipp, they usually mean how to use a snipping tool — a built-in application in Windows and other platforms that lets you capture selected parts of the screen. Instead of capturing the entire desktop, snipping tools allow you to:
-
Select regions for precise screenshots.
-
Annotate images with text or highlights.
-
Save or share screenshots instantly.
This functionality is particularly valuable in industries like cybersecurity, IT support, and online training, where visual proof is essential.
Why Screenshots Are Essential in Business and Cybersecurity
Learning how to snipp is not just for casual users. Here’s why businesses and IT teams rely heavily on it:
-
Documentation: Capture evidence of errors, phishing emails, or malware alerts.
-
Training: Provide employees with visual step-by-step guides.
-
Communication: Share visuals in support tickets for faster resolution.
-
Security Audits: Record suspicious activity without third-party tools.
Screenshots act as digital evidence — and in cybersecurity, evidence is everything.
How to Snipp on Windows
Windows offers several ways to capture screenshots, depending on your needs.
1. Using the Snipping Tool
The Snipping Tool is a classic application available in most Windows versions.
Steps:
-
Open the Snipping Tool from the Start Menu.
-
Click New to start a snip.
-
Select the area of the screen you want to capture.
-
Save the snip or copy it to the clipboard.
2. Using Snip & Sketch (Windows 10/11)
Snip & Sketch is the updated tool for Windows 10 and 11 users.
Steps:
-
Press Windows Key + Shift + S.
-
Select from rectangle, freeform, window, or full-screen snip.
-
The snip is saved to the clipboard, with options to annotate or save.
3. Print Screen Shortcuts
-
PrtScn: Captures the entire screen.
-
Alt + PrtScn: Captures the active window.
-
Windows Key + PrtScn: Captures the screen and saves automatically to the “Screenshots” folder.
How to Snipp on macOS
Apple users also have built-in snipping capabilities.
-
Command + Shift + 3 → Full-screen capture.
-
Command + Shift + 4 → Select a region to capture.
-
Command + Shift + 5 → Opens snipping menu with advanced options.
Screenshots save directly to the desktop by default, but you can configure storage preferences.
How to Snipp on Linux
Linux users rely on different tools, depending on the distribution.
-
Print Screen Key → Captures the screen.
-
Shift + Print Screen → Capture selected area.
-
Tools like Flameshot and Shutter provide advanced editing features.
For cybersecurity and IT professionals using Linux servers, screenshots are invaluable in creating documentation and reports.
Advanced Snipping Tips for Professionals
Once you’ve mastered the basics, here are advanced tricks to maximize efficiency:
-
Timed Snips – Use delayed captures to record menus or hover effects.
-
Annotations – Add arrows, highlights, or text directly to snips.
-
Cloud Integration – Save snips directly to OneDrive, Google Drive, or Dropbox for easy sharing.
-
Multi-Monitor Support – Capture across extended desktops for system monitoring.
Best Third-Party Tools for Snipping
While built-in tools work well, professionals often need advanced features. Here are popular third-party options:
-
Greenshot – Lightweight, free, great for annotations.
-
Snagit – Paid tool with video recording and robust editing.
-
Lightshot – Quick sharing and cloud upload.
For IT and cybersecurity experts, these tools streamline the process of reporting vulnerabilities and creating training material.
Security Considerations When Snipping
Screenshots can contain sensitive data such as:
-
Login credentials
-
Financial details
-
Proprietary business information
To keep snips secure:
-
Always review images before sharing.
-
Blur or redact sensitive information.
-
Store snips in secure, encrypted folders.
-
Use access controls when sharing with teams.
Practical Use Cases of Snipping in IT and Cybersecurity
-
Incident Response: Capture suspicious system alerts.
-
Bug Reporting: Document software glitches for developers.
-
Compliance: Maintain records for security audits.
-
Employee Training: Create visual how-to guides.
Screenshots bridge the gap between technical teams and non-technical stakeholders.
FAQs on How to Snipp
1. What’s the difference between Print Screen and Snipping Tool?
Print Screen captures the whole screen, while the Snipping Tool lets you select specific areas.
2. Can I snipp on mobile devices?
Yes. Both iOS and Android support screenshot shortcuts and annotation tools.
3. Where are my snips saved in Windows?
By default, Snip & Sketch saves to the clipboard. Press Ctrl + V to paste or manually save.
4. Are there risks in sharing screenshots?
Yes. Screenshots can expose private data. Always review and redact sensitive content before sharing.
5. Can I take scrolling screenshots?
Yes, but you’ll need third-party tools like Snagit or browser extensions.
Conclusion: Snipping Simplified
Knowing how to snipp is more than a convenience — it’s a necessity in modern business, IT management, and cybersecurity. From documenting incidents to improving communication, snipping tools save time and enhance productivity.
👉 Ready to protect your digital environment while working smarter? Request a demo today and see how advanced endpoint security can safeguard your business.