Mac OS X: How to Uninstall Applications the Right Way
Updated on November 6, 2025, by Xcitium
Are unused apps cluttering your Mac and slowing it down? You’re not alone. Many users install new software regularly but rarely remove it properly — leading to wasted storage, hidden files, and even potential security risks.
Mac OS X How to Uninstall Application:
In this guide, we’ll walk you through how to uninstall applications on Mac OS X completely — step-by-step. You’ll learn about manual methods, advanced cleanup options, and security tips to ensure no residual data remains behind.
Whether you’re an IT manager, a cybersecurity professional, or a Mac power user, understanding proper app removal is key to maintaining performance and protecting your data.
Why It’s Important to Uninstall Applications Properly
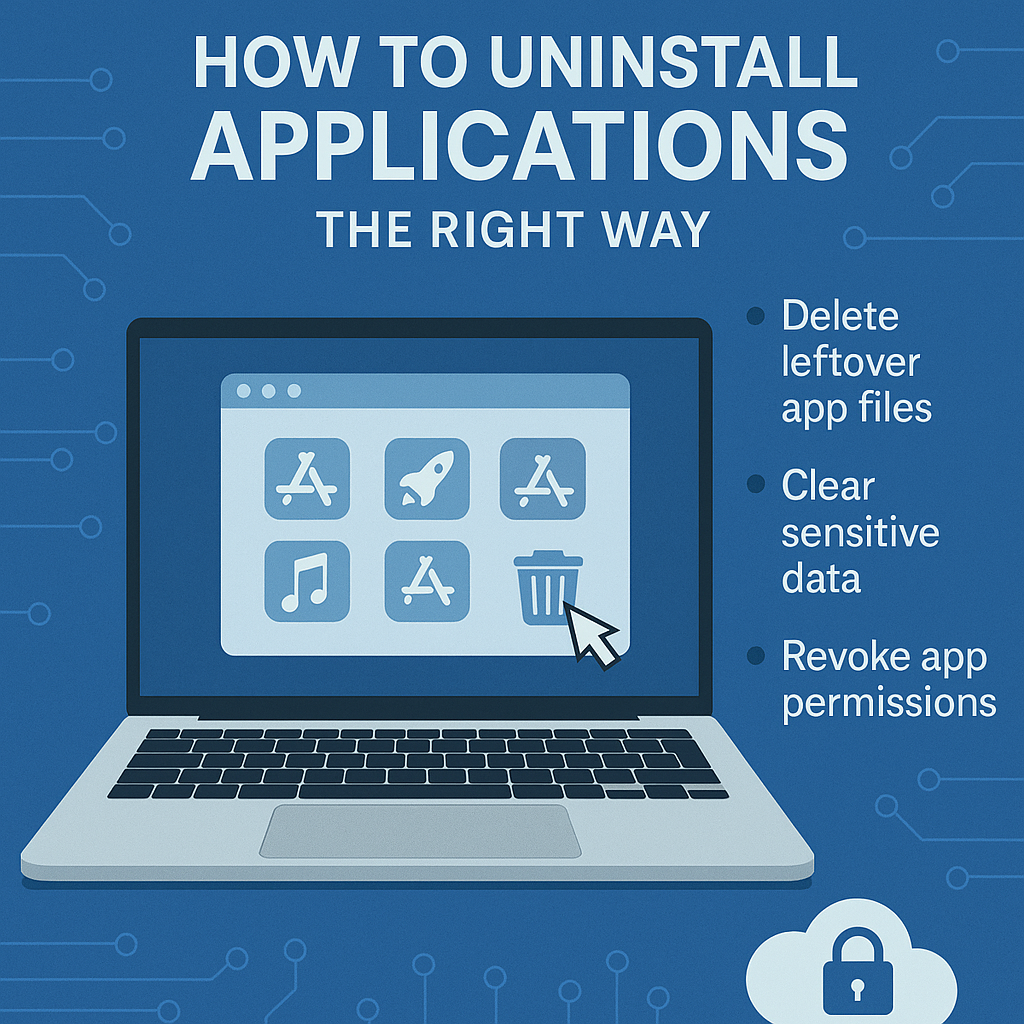
When you delete a Mac app by dragging it to the Trash, it doesn’t always remove everything. Hidden files — like preferences, caches, and logs — can remain buried in your system. Over time, these leftovers can:
-
Consume valuable storage space
-
Cause system slowdowns
-
Create app conflicts
-
Pose security vulnerabilities if old files contain sensitive data
Properly uninstalling software ensures your Mac runs efficiently, stays secure, and remains compliant with cybersecurity standards.
How Applications Work on Mac OS X
Before we get into uninstallation methods, it’s helpful to understand how Mac applications are structured.
Most macOS applications are self-contained “bundles”, which means they store most of their data in one package. However, many apps also create:
-
Support files (
~/Library/Application Support) -
Preference files (
~/Library/Preferences) -
Cache files (
~/Library/Caches) -
Logs (
~/Library/Logs)
These additional files are the ones that remain behind after a basic Trash deletion.
How to Uninstall Applications on Mac OS X (Step-by-Step)
Let’s break down all the ways you can uninstall an application on Mac OS X — from the simple method to advanced removal.
1. Using Finder (Basic Method)
This is the most common method and works for most standard apps downloaded from the Mac App Store or installed manually.
Steps:
-
Open Finder.
-
Go to the Applications folder.
-
Locate the app you want to remove.
-
Drag the app to the Trash, or right-click and select Move to Trash.
-
Empty the Trash to permanently delete it.
✅ Note: This removes the main application file but not hidden support files.
2. Using Launchpad
If you installed an app from the Mac App Store, you can easily remove it via Launchpad.
Steps:
-
Open Launchpad (use F4 or the Dock icon).
-
Press and hold any app icon until they start to jiggle.
-
Click the X icon on the app you want to delete.
-
Confirm deletion.
This is quick, but again, it doesn’t remove associated files outside the app bundle.
3. Manually Removing Leftover Files
For a complete uninstall, you need to manually remove all related files from the system folders.
Steps:
-
Open Finder and click Go → Go to Folder…
-
Type in the following directories one by one:
-
Locate any folders or files with the app’s name.
-
Move them to the Trash.
⚠️ Warning: Be cautious when deleting files. Removing system-critical items could cause instability.
4. Using Terminal Commands (For Power Users)
If you prefer using command-line tools, you can remove applications and their associated files with Terminal.
Example Command:
To remove related files:
This gives you total control but requires administrative privileges.
5. Using Third-Party Uninstallers (Recommended for IT & Security Teams)
Professional IT teams often rely on uninstaller software that automates the cleanup process.
Top Tools Include:
-
AppCleaner (Free)
-
CleanMyMac X
-
AppDelete
-
MacBooster
These tools detect and remove hidden files automatically — saving time and reducing risk.
✅ Best for: Businesses, enterprise environments, and cybersecurity professionals managing multiple systems.
Advanced Tip: Removing Startup and Background Services
Some apps install background daemons or startup items that continue running even after deletion.
To remove them:
-
Open System Settings → General → Login Items.
-
Check for any entries related to the deleted app.
-
Remove them manually.
You can also inspect /Library/LaunchAgents and /Library/LaunchDaemons for leftover service files.
How to Uninstall Apps from Mac App Store vs Third-Party Sources
| Source | Uninstallation Method | Hidden Files? | Security Risks |
|---|---|---|---|
| Mac App Store | Launchpad or Finder | Minimal | Low |
| Third-Party Installer | Manual or Uninstaller App | Moderate | Medium |
| Enterprise Software | Terminal or MDM Tools | High | High |
Understanding where your software came from helps you choose the right removal method — especially in enterprise cybersecurity environments.
Uninstalling Applications Securely (Cybersecurity Best Practices)
Uninstalling isn’t just about freeing space — it’s about protecting sensitive information and ensuring compliance.
1. Clear Sensitive Data
Before removing an application, log out of accounts and delete stored credentials.
2. Revoke App Permissions
Go to System Settings → Privacy & Security and review which apps had access to your files, microphone, or camera.
3. Use Secure Deletion
After uninstallation, empty the Trash securely by enabling Secure Empty Trash in older macOS versions or using disk utilities.
4. Verify Network Connections
Use a firewall or monitoring tool to confirm that uninstalled apps no longer attempt network communications.
Common Mistakes When Uninstalling Applications
-
Dragging apps to Trash only: Leaves behind hidden files.
-
Ignoring preferences and caches: Consumes unnecessary storage.
-
Deleting shared frameworks: May break other applications.
-
Skipping background services: Causes system slowdowns.
-
Not checking login items: Apps may still run after “uninstallation.”
Avoiding these mistakes ensures a complete and clean removal process.
How to Automate Uninstallations (For IT and Enterprises)
In enterprise environments, manual removal isn’t scalable. IT teams often use Mobile Device Management (MDM) solutions like:
-
Jamf Pro
-
Intune for macOS
-
Apple Business Manager
These platforms allow administrators to:
-
Deploy and uninstall applications remotely
-
Ensure compliance across devices
-
Automate cleanup scripts for consistent security hygiene
Automation not only saves time but also ensures critical system integrity across an organization.
Why Uninstalling Apps Improves Security
Unused software can become a backdoor for cyberattacks. Many breaches occur through outdated or unmaintained applications.
Proper uninstallation helps to:
-
Remove potential exploit points
-
Reduce attack surface
-
Limit unnecessary network exposure
-
Comply with Zero Trust Security principles
By maintaining a minimal and updated software inventory, organizations enhance both performance and protection.
Troubleshooting: When an App Won’t Uninstall
Sometimes, applications resist removal due to running processes or permission issues.
Try the following fixes:
-
Quit the app completely from the Dock or Activity Monitor.
-
Restart your Mac and try again.
-
Use Safe Mode (
Hold Shift while booting) to bypass system locks. -
Delete with Terminal using
sudo rm -rf.
If none of these work, check for system integrity protection (SIP) restrictions, which can block deletion of critical items.
The Cybersecurity Angle: Why Data Residue Matters
From a cybersecurity perspective, leftover data can expose sensitive information like configuration details or credentials.
Cybercriminals often target system logs or support files from uninstalled software to:
-
Reconstruct account information
-
Identify vulnerabilities
-
Reverse-engineer user behavior
This is why proper deletion — not just convenience — is a data protection imperative.
Final Cleanup Tips for Mac Users
After uninstalling applications, perform these maintenance steps:
-
Run Disk Utility → First Aid to repair permissions.
-
Use Spotlight Search to find any remaining app traces.
-
Clear caches via ~/Library/Caches/.
-
Restart your Mac to refresh system memory.
This ensures your Mac operates efficiently and securely.
Conclusion: Keep Your Mac Clean, Fast, and Secure
Knowing how to uninstall applications on Mac OS X properly isn’t just about freeing up space — it’s about maintaining system health and data integrity.
By combining manual cleanup with cybersecurity best practices, you can prevent risks, optimize performance, and ensure your organization’s devices stay compliant.
👉 Ready to enhance your system’s protection and visibility?
Request a Demo from Xcitium to experience next-level endpoint and data protection.
FAQs About Uninstalling Apps on Mac OS X
1. Why doesn’t dragging to Trash fully uninstall an app?
Because it leaves behind configuration, cache, and log files that remain hidden in your Library folders.
2. How do I remove hidden files from uninstalled apps?
Use Finder’s Go to Folder and navigate to ~/Library directories to delete associated files manually.
3. What’s the safest way to uninstall applications?
Using trusted uninstaller tools like AppCleaner or enterprise-grade MDM solutions for full cleanup.
4. Can leftover files pose a security risk?
Yes — residual data can contain sensitive credentials, logs, or network details vulnerable to exploitation.
5. Is there a way to automate uninstallations across Macs?
Yes, IT teams can use MDM tools like Jamf or Intune to deploy automated uninstall scripts securely.


