How to Take a Screenshot in Windows 10: A Complete Guide
Updated on September 15, 2025, by Xcitium
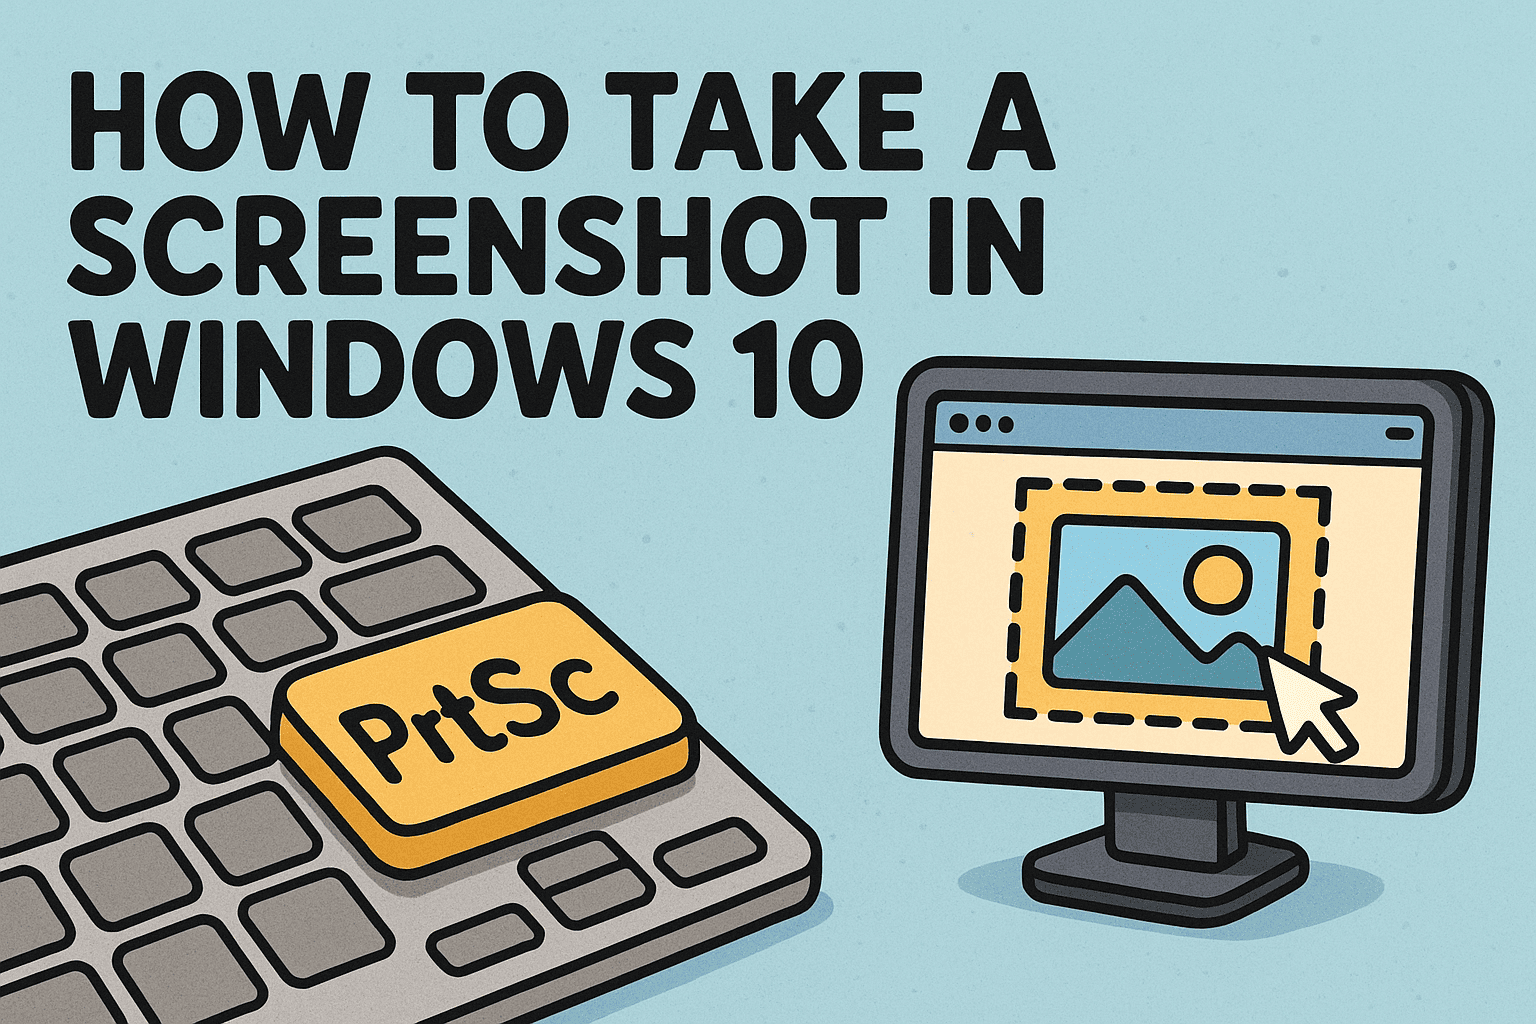
Have you ever wondered, “How to take a screenshot in Windows 10 quickly and efficiently?” Whether you’re troubleshooting an error, documenting processes, or sharing visuals with colleagues, knowing how to capture your screen is a skill every professional should master.
For IT managers, cybersecurity experts, and business leaders, screenshots are more than convenience—they’re tools for documentation, reporting, and secure communication. In this guide, we’ll cover multiple ways to take a screenshot in Windows 10, from built-in shortcuts to advanced tools.
Why Screenshots Matter in Business and Security
Before diving into how to take a screenshot in Windows 10, let’s consider why it’s important:
- Cybersecurity Evidence: Screenshots help document phishing emails or suspicious activity.
- IT Troubleshooting: Capture error messages for support teams.
- Training Materials: Create step-by-step visuals for staff.
- Compliance Reports: Store snapshots of security configurations or logs.
👉 Screenshots are quick, reliable, and can serve as visual proof in critical business situations.
How to Take a Screenshot in Windows 10 Using Keyboard Shortcuts
Windows 10 includes built-in shortcuts to make screenshots effortless.
1. Print Screen (PrtScn)
- Press PrtScn: Captures the entire screen and copies it to the clipboard.
- Paste into Paint, Word, or email.
2. Alt + Print Screen
- Captures only the active window.
- Useful when you don’t want the entire desktop.
3. Windows Key + Print Screen
Saves a screenshot of the entire screen directly to:
C:\Users\[YourName]\Pictures\Screenshots
4. Windows Key + Shift + S
- Opens Snip & Sketch for free-form, rectangular, or full-screen snips.
- Screenshot is copied to clipboard for immediate sharing.
How to Use Snipping Tool and Snip & Sketch
For more control, Windows offers dedicated tools.
Snipping Tool
- Open Start Menu > Search “Snipping Tool.”
- Choose snip type: Free-form, Rectangular, Window, or Full-screen.
- Save or annotate your screenshot.
Snip & Sketch (Newer Tool)
- Press Windows + Shift + S.
- Choose from four snip options.
- Edit and save directly.
👉 Snip & Sketch is the preferred modern option, gradually replacing Snipping Tool.
How to Take a Screenshot in Windows 10 with Game Bar
Windows 10’s Xbox Game Bar can also capture screenshots.
- Press Windows Key + G.
- In the overlay, click the camera icon.
Screenshots save to:
C:\Users\[YourName]\Videos\Captures
This method is ideal for capturing app-specific activity, especially in gaming or simulations.
Third-Party Tools for Advanced Screenshots
Sometimes, built-in tools aren’t enough. IT professionals may prefer third-party apps like:
- Greenshot: Lightweight, free, great for documentation.
- Lightshot: Fast sharing and cloud integration.
- Snagit: Advanced features for businesses, including scrolling capture.
Security Best Practices for Screenshots
Screenshots can contain sensitive information. To avoid risks:
- Redact Sensitive Data: Blur or remove confidential details before sharing.
- Store Securely: Save screenshots in encrypted folders if they contain business data.
- Use Company Tools: Avoid public screenshot-sharing platforms for internal data.
- Limit Access: Only authorized staff should access compliance-related screenshots.
👉 For cybersecurity teams, screenshots are evidence—but must be handled securely.
Common Problems and Fixes
- PrtScn not working? Check if the keyboard has an Fn (Function) key lock.
- Screenshots not saving? Verify default folder settings in Windows.
- Blurry screenshots? Increase display resolution before capturing.
- Clipboard issues? Restart Windows Explorer to refresh clipboard functions.
Business Use Cases of Screenshots
For executives and IT managers, screenshots can:
- Capture incident response steps during a security breach.
- Provide evidence for audits.
- Document training sessions.
- Facilitate collaboration across teams.
Screenshots aren’t just convenience—they’re part of secure business workflows.
FAQs on Taking Screenshots in Windows 10
Q1. Where are screenshots saved in Windows 10?
By default, they’re stored in Pictures > Screenshots.
Q2. Can I capture just one monitor in a multi-screen setup?
Yes. Use Alt + PrtScn on the active window, or Snip & Sketch for precision.
Q3. Does Windows 10 allow timed screenshots?
Yes, Snipping Tool includes a delay option.
Q4. What’s the difference between Snipping Tool and Snip & Sketch?
Snip & Sketch is the modern replacement, offering more editing features.
Q5. Are third-party screenshot tools safe?
Yes, if downloaded from trusted sources. Enterprises should whitelist approved tools.
Conclusion: Screenshots as a Business and Security Asset
So, how to take a screenshot in Windows 10? You have multiple options—keyboard shortcuts, Snip & Sketch, Game Bar, and third-party tools. For professionals, the real value lies in how screenshots are used: documenting issues, ensuring compliance, and strengthening security practices.
For IT managers and business leaders, screenshots are more than images—they’re proof, evidence, and collaboration tools. But they must be captured and stored securely to prevent misuse.
👉 Want to safeguard your organization’s digital processes? Explore how Xcitium’s zero-trust solutions can protect your enterprise from cybersecurity risks.


