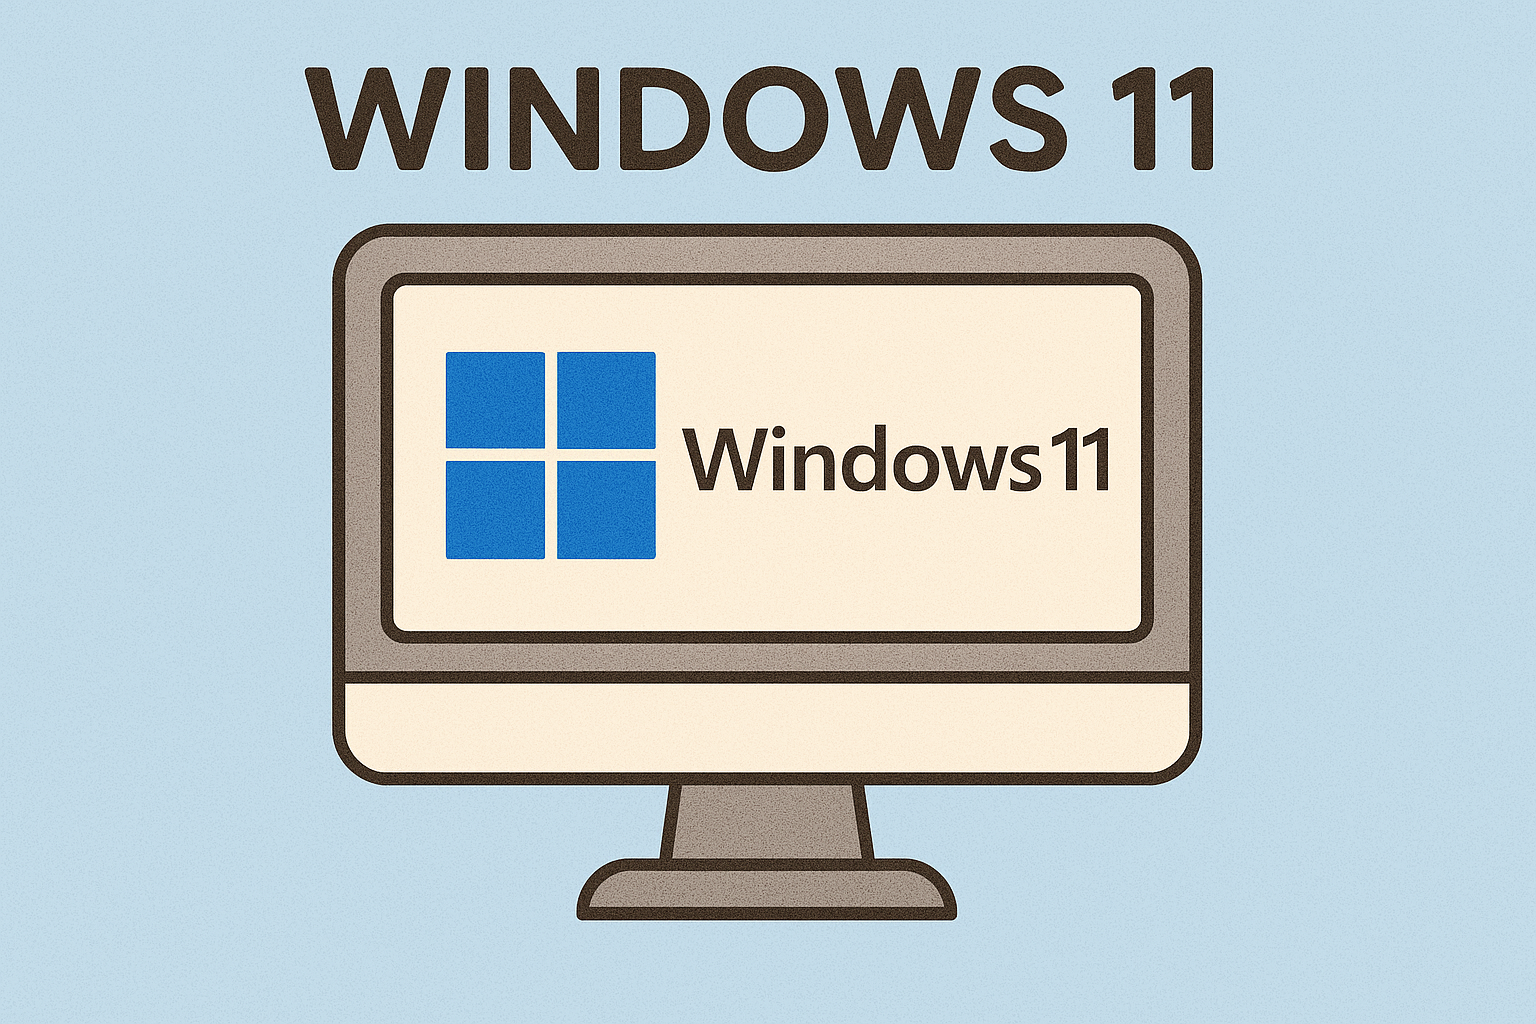
How to Beat the TMP Windows 11: A Complete Guide to TPM Errors and Fixes
Updated on July 16, 2025, by Xcitium
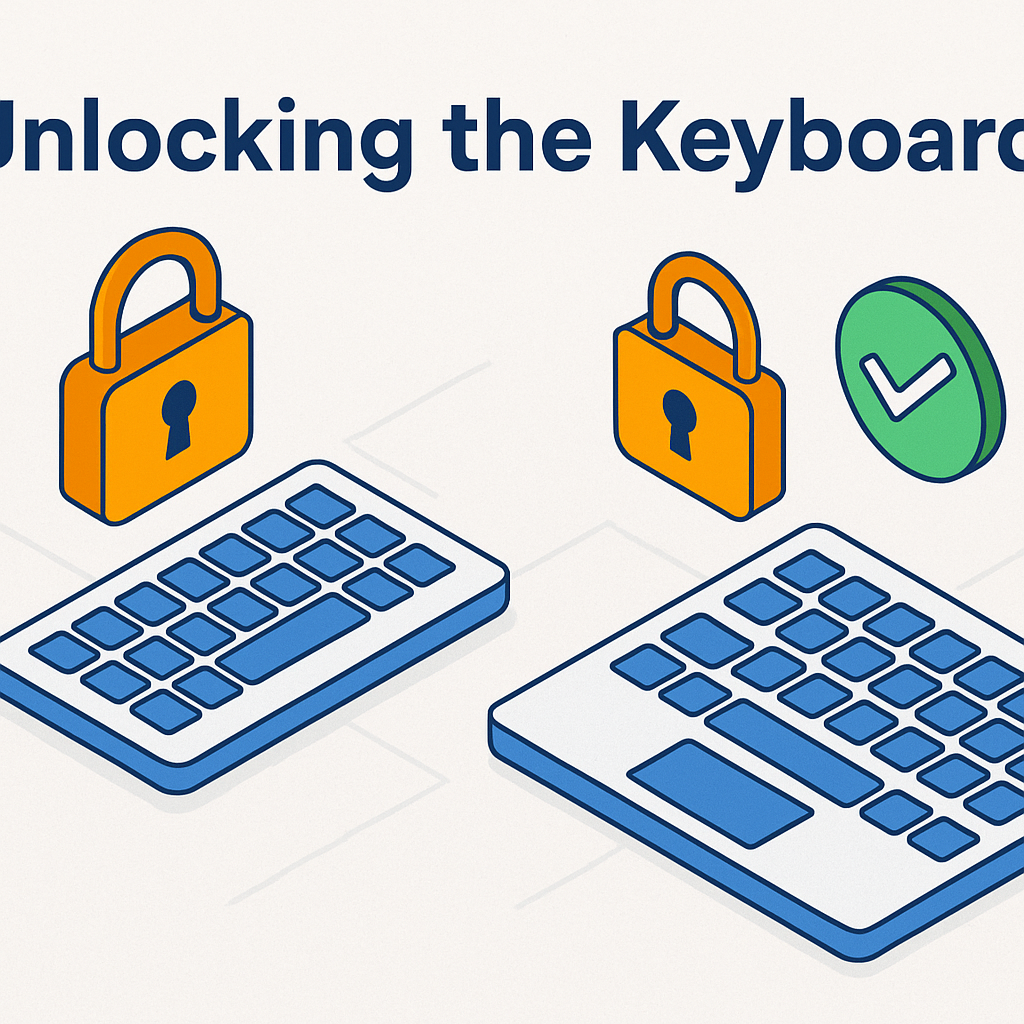
Have you tried installing Windows 11 only to see a frustrating TPM-related error? You’re not alone. The message “This PC can’t run Windows 11” often comes down to a missing or disabled Trusted Platform Module (TPM).
This guide will walk you through how to beat the TMP Windows 11 issue, whether by enabling TPM 2.0, troubleshooting BIOS settings, or understanding how it all works. We’ll also discuss when and how to bypass TPM requirements if needed.
What is TPM and Why Does Windows 11 Require It?
TPM (Trusted Platform Module) is a hardware-based security chip used for encryption, secure boot, and storing cryptographic keys. Microsoft made TPM 2.0 mandatory for Windows 11 to enhance system security, especially for enterprise and cloud-connected devices.
🔐 TPM protects against firmware attacks, rootkits, and credential theft.
Windows 11 requires TPM 2.0 by default, and if your system doesn’t have it—or it’s disabled—you’ll hit a compatibility wall.
Common Errors Related to TMP Windows 11
If you’re facing issues with TPM Windows 11, you may see errors such as:
- “This PC can’t run Windows 11”
- “TPM 2.0 is a requirement for running Windows 11”
- “TPM device not detected”
- “TPM error code 0x80090016”
These messages appear when Windows Setup doesn’t detect an enabled or compliant TPM module.
Step-by-Step: How to Beat the TMP Windows 11 Issue
You can tackle the TPM requirement using multiple approaches, depending on whether your hardware supports TPM or not.
✅ 1. Check If Your PC Has TPM
How to check TPM in Windows 10/11:
- Press Win + R, type tpm.msc, and hit Enter.
- If TPM is present, the TPM Management window will show status details.
- It should say: “The TPM is ready for use” and version 2.0.
If not, move to BIOS settings.
✅ 2. Enable TPM in BIOS or UEFI
Many systems have TPM disabled by default. Here’s how to turn it on:
- Restart your PC and press the designated BIOS key (often Del, Esc, F2, or F10).
- Navigate to Security Settings or Advanced Settings.
- Look for “TPM, PTT (Intel), or fTPM (AMD)” and enable it.
- Save and exit BIOS.
🧠 Enabling TPM in BIOS often solves 90% of TPM-related Windows 11 issues.
✅ 3. Enable TPM 2.0 in Windows 10
You can also try enabling TPM within the operating system:
- Go to Settings > Update & Security > Windows Security > Device Security.
- Look for Security Processor under “Core Isolation”.
- Click “Security processor details” to confirm TPM version.
✅ 4. Download TPM 2.0 Firmware (If Applicable)
Some older devices have TPM 1.2 but may support firmware upgrades.
- Visit your manufacturer’s website.
- Look for TPM firmware updates.
- Follow instructions to upgrade to TPM 2.0 for Windows 11.
✅ 5. Bypass TPM Requirement (Advanced Users Only)
If you’re tech-savvy or just need Windows 11 on unsupported hardware, consider these methods:
A. Registry Hack During Installation
- Boot from Windows 11 installation media.
- Press Shift + F10 for Command Prompt.
- Type regedit to open the registry.
- Navigate to:
HKEY_LOCAL_MACHINE\SYSTEM\Setup\LabConfig
(Create the key if it doesn’t exist.) - Add the following DWORD values and set them to 1:
- BypassTPMCheck
- BypassSecureBootCheck
- Continue the installation.
⚠️ Bypassing TPM disables key security features—use only for testing or non-critical devices.
✅ 6. Disable TPM in Windows 11 (Optional)
Some users want to disable TPM in Windows 11 due to errors or compatibility issues:
- Go to BIOS/UEFI and disable TPM/PTT/fTPM manually.
- This might affect BitLocker, Secure Boot, and Windows Hello.
Use Cases: Who Needs TPM and Who Doesn’t?
TPM is essential for:
- Enterprises using BitLocker or secure boot.
- Users storing sensitive credentials or using Windows Hello.
- Cloud-integrated systems requiring hardware attestation.
You might skip TPM if:
- You’re installing Windows 11 for testing.
- Using a virtual machine.
- Operating on legacy hardware.
Real-World Examples: TPM 2.0 in Action
- Corporate Environments: TPM helps enforce Zero Trust policies.
- Personal Laptops: BitLocker auto-encryption relies on TPM.
- Government Systems: TPM ensures compliance with cybersecurity standards.
FAQs About TMP Windows 11 and TPM 2.0
1. What does TMP mean in Windows 11?
It usually refers to TPM (Trusted Platform Module), a required chip for Windows 11 installation.
2. Can I install Windows 11 without TPM?
Yes, but only through unofficial workarounds like registry hacks or modified ISOs.
3. How to turn on TPM in BIOS?
Enter BIOS/UEFI, locate TPM/PTT/fTPM under “Security,” and enable it.
4. What is the difference between TPM 1.2 and TPM 2.0?
TPM 2.0 supports stronger encryption and better integration with modern OS security features.
5. Is it safe to disable TPM in Windows 11?
Disabling it can weaken your system’s security and disable features like BitLocker.
Conclusion: Beat the TMP Barrier Without Compromising Security
Learning how to beat the TMP Windows 11 problem doesn’t mean bypassing all security—sometimes it’s just about enabling the right settings. Whether you’re an IT admin, cybersecurity manager, or individual user, knowing how TPM works can save time and frustration.
🔐 If you’re managing enterprise devices, skipping TPM isn’t recommended. Instead, integrate it into your security strategy.
🚀 Ready to Fortify Your Windows Systems?
Let Xcitium help you navigate secure installations, OS deployments, and endpoint protection with ease.
👉 Request a Free Demo Now