What is the BIOS?
The BIOS (Basic Input/Output System) is the low-level firmware built into your computer's motherboard. It initializes hardware during the boot process and provides an interface between your operating system and the underlying hardware components.
When you power on your PC, the BIOS runs a POST (Power-On Self-Test) to ensure all hardware components are functioning properly before loading the operating system. Within the BIOS, you can configure a wide range of settings including:
- Boot sequence
- CPU and memory settings
- Fan speeds
- Power management
- Integrated peripherals
- Security options
- Overclocking (on supported systems)
Accessing the BIOS is essential for advanced configuration, hardware troubleshooting, or installing a new operating system.
How to Access the BIOS on any PC
The process for accessing the BIOS varies slightly based on your system manufacturer, but generally involves pressing a specific key immediately after powering on your computer.
Common BIOS Access Keys by Manufacturer:
| Manufacturer | BIOS Access Key |
|---|---|
| Dell | F2 |
| HP | F10 or ESC |
| Lenovo | F1 or F2 |
| Acer | F2 or DEL |
| ASUS | DEL or F2 |
| MSI | DEL |
| Toshiba | F2 |
| Samsung | F2 or F10 |
General Steps:
- Completely shut down your computer.
- Turn it back on, and as soon as it starts, begin pressing the BIOS key repeatedly (every half second).
- Enter the BIOS menu—you'll typically see a blue or black screen with system configuration options.
Pro Tip: Timing is crucial. If your system boots too quickly, you might miss the window. Try restarting and pressing the BIOS key sooner.
How to Enter BIOS on Windows 10
If your PC boots too fast for manual key input, or if you're using a modern UEFI system, Windows 10 offers a software-based method to enter BIOS:
Steps to Enter BIOS on Windows 10:
- Click the Start menu and go to Settings.
- Navigate to Update & Security > Recovery.
- Under Advanced startup, click Restart now.
- After reboot, choose Troubleshoot > Advanced options > UEFI Firmware Settings.
- Click Restart again—your PC will reboot directly into the BIOS.
This method works especially well for newer machines with UEFI firmware instead of legacy BIOS.
How to Update the BIOS
Updating your BIOS can resolve bugs, improve hardware compatibility, or unlock new features. But caution is required—an incorrect update can render your motherboard inoperable.
When Should You Update the BIOS?
Only update your BIOS if:
- You are fixing a known issue identified by your motherboard/computer manufacturer
- You're installing a new CPU or hardware that requires a newer BIOS version
- You need a security or performance fix that the update addresses
- You're troubleshooting an unstable system and suspect firmware issues
If your system is stable, a BIOS update may not be necessary.
How to Update BIOS Safely:
Step 1: Identify Your Motherboard Model
- Open System Information (msinfo32 in Run dialog)
- Look for System Model and BIOS Version/Date
Step 2: Download BIOS Update
- Go to your motherboard or computer manufacturer’s support site
- Search for your model and locate the latest BIOS firmware
Step 3: Read the Instructions
- Manufacturers often provide a README file or PDF—follow it closely
Step 4: Prepare a Bootable USB (If Needed)
Some systems require a USB drive to perform the update outside the OS.
Step 5: Use the Built-in Flash Utility
Many modern systems feature a built-in BIOS update utility (e.g., ASUS EZ Flash, MSI M-Flash, Dell BIOS Flash Update).
- Enter the BIOS
- Select the Flash Utility
- Choose the BIOS file from your USB
- Confirm and begin the update process
Post-Update Tips:
- Do not power off your system during the update
- Reset to defaults or reconfigure BIOS settings as needed
- Confirm the updated version upon reboot
BIOS vs EUFI – What's the Difference?
Modern PCs often use UEFI (Unified Extensible Firmware Interface) rather than traditional BIOS. While the terms are often used interchangeably, there are important differences:
| Feature | BIOS | UEFI |
|---|---|---|
| Max Drive Support | ~2.2 TB | >9 ZB |
| Interface | Text-based | GUI + mouse support |
| Boot Speed | Slower | Faster |
| Secure Boot | Not supported | Supported |
| Modern Hardware | Limited support | Native support |
How to tell if your PC uses UEFI:
Run msinfo32 > Look for “BIOS Mode” — If it says “UEFI,” your system uses modern firmware.
Common BIOS Configuration Tasks
Once you’ve accessed the BIOS, here are some key things you can do:
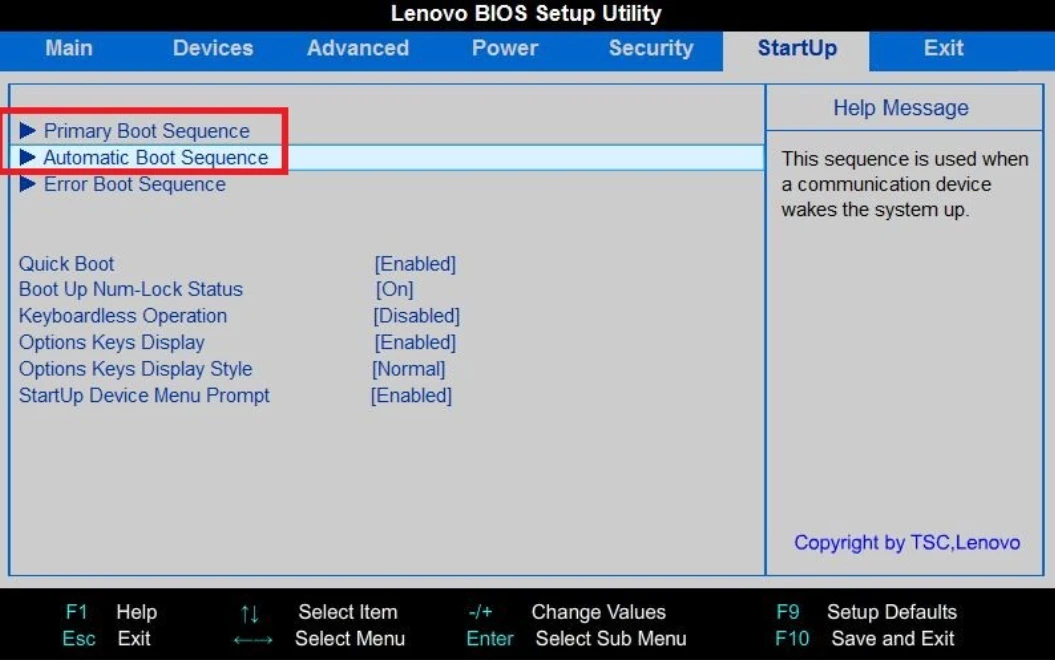
Change Boot Order
Useful when installing a new OS or booting from USB/DVD.
Enable Virtualization
Required for running virtual machines or containers like Docker.
Overclock CPU/RAM
Advanced users can tune performance—but risk system stability.
Enable/Disable TPM
Required for some security features and Windows 11 compatibility.
Adjust Power Settings
Change how your system manages power, including sleep modes and fan profiles.
Set BIOS Password
Prevent unauthorized changes or access to firmware settings.
Troubleshooting BIOS Access Issues
If you can’t access the BIOS:
Fast Boot Enabled
Disable Fast Boot in Windows or use the UEFI Firmware Settings method via Windows 10.
Wireless Keyboards Not Detected Early
Use a wired USB keyboard directly connected to the motherboard.
BIOS Reset May Be Needed
If BIOS is corrupted or misconfigured, reset by removing the CMOS battery for 30 seconds or using the BIOS reset jumper.
Why BIOS Access Matters in Cybersecurity
Although the BIOS is a low-level system component, it plays a vital role in IT security:
- Secure Boot protects against rootkits and pre-OS malware
- BIOS passwords prevent tampering
- TPM and virtualization settings impact encryption and endpoint protection
- Firmware-based threats (like LoJax) target the BIOS/UEFI layer
Xcitium’s endpoint protection platform monitors system integrity—even at the firmware level—providing advanced visibility into potential BIOS-based or boot-time threats.
How Xcitium Helps Protect Your BIOS and Firmware
At Xcitium, we go beyond surface-level malware detection. Our Zero Trust architecture and endpoint protection suite offer:
- Firmware integrity checks
- UEFI rootkit detection
- Behavioral monitoring of boot processes
- Auto-containment of unknown pre-boot or kernel-level threats
We ensure that threats hiding in firmware or exploiting BIOS weaknesses are detected and stopped—before they can compromise your system.
Ready to Take Control of Your BIOS?
Whether you’re learning how to access the BIOS, entering it in Windows 10, or updating your firmware, understanding your BIOS is key to optimizing performance, security, and system stability.
With Xcitium, your protection begins before your OS even loads.